Of course! A layered chocolate cake is a classic, celebratory dessert. Here is a detailed recipe for a rich, moist, and incredibly delicious layered chocolate cake, complete with a silky chocolate frosting.
This recipe is designed to be approachable for bakers of all levels.
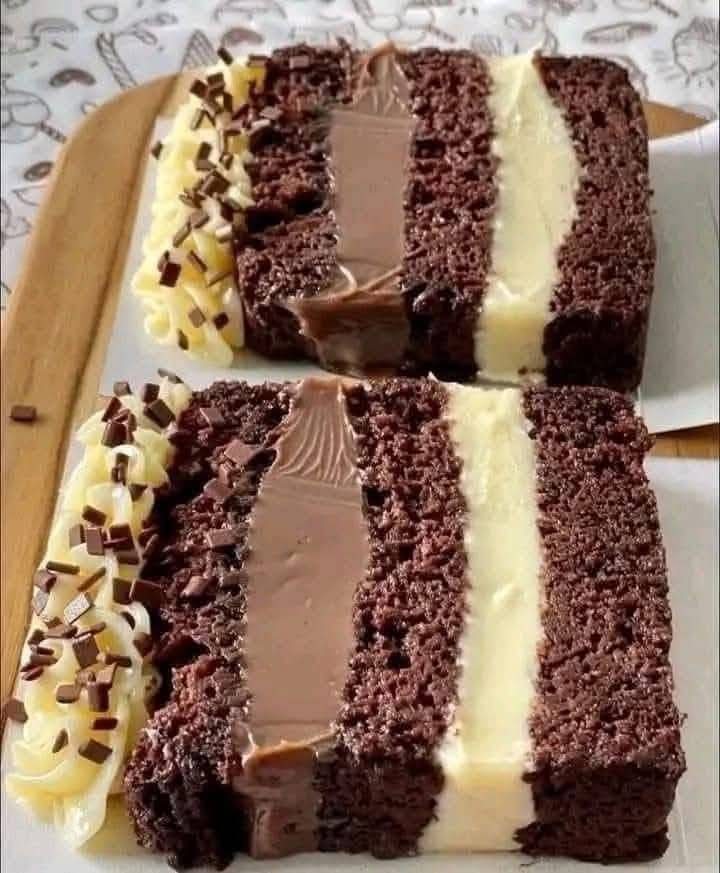
The Ultimate Layered Chocolate Cake
This recipe yields a tall, impressive 8-inch, 3-layer cake. The cake is moist and deeply chocolatey, while the frosting is rich, creamy, and not overly sweet.
Part 1: The Chocolate Cake Layers
Ingredients:
· 2 cups (400g) granulated sugar
· 1 ¾ cups (220g) all-purpose flour
· ¾ cup (75g) unsweetened cocoa powder (natural, not Dutch-processed)
· 2 teaspoons baking soda
· 1 teaspoon baking powder
· 1 teaspoon fine sea salt
· 2 large eggs, at room temperature
· 1 cup (240ml) buttermilk, at room temperature*
· 1 cup (240ml) strong black coffee, hot (or boiling water)
· ½ cup (120ml) vegetable or canola oil
· 2 teaspoons pure vanilla extract
*No buttermilk? Make a quick substitute: Add 1 tablespoon of white vinegar or lemon juice to a 1-cup measuring cup. Fill the rest with whole milk. Let it sit for 5-10 minutes until it curdles.
Instructions:
Prepare: Preheat your oven to 350°F (175°C). Grease and flour three 8-inch round cake pans, and line the bottoms with parchment paper circles. This ensures the cakes will release perfectly.
Combine Dry Ingredients: In the bowl of a stand mixer (or a large bowl with a hand mixer), sift together the sugar, flour, cocoa powder, baking soda, baking powder, and salt. Sifting is key for a light, non-grainy texture. Whisk to combine.
Add Wet Ingredients: On low speed, add the eggs, buttermilk, hot coffee (or water), oil, and vanilla. Mix just until the ingredients are combined. The batter will be very thin—this is normal and correct!
Bake: Carefully pour the batter evenly into the prepared pans. Tap the pans on the counter a few times to release any large air bubbles.
· Bake for 30-35 minutes, or until a wooden skewer or toothpick inserted into the center comes out clean or with a few moist crumbs.
Cool: Let the cakes cool in their pans on a wire rack for 15 minutes. Then, run a knife around the edges and carefully invert them onto the wire rack to cool completely. It is crucial that the cakes are completely cool before frosting, or the frosting will melt.
Part 2: The Chocolate Frosting
This is a classic and foolproof chocolate buttercream, perfect for piping and spreading.
Ingredients:
· 1 ½ cups (340g) unsalted butter, softened to room temperature
· 1 cup (95g) unsweetened cocoa powder, sifted
· 5 cups (600g) powdered sugar, sifted
· ⅓ cup (80ml) whole milk or heavy cream, at room temperature
· 2 teaspoons pure vanilla extract
· ¼ teaspoon salt
Instructions:
Cream Butter: In the bowl of a stand mixer fitted with the paddle attachment (or with a hand mixer), beat the softened butter on medium speed until it is completely smooth and pale, about 3-4 minutes.
Add Cocoa: Add the sifted cocoa powder and mix on low until combined. Scrape down the bowl.
Add Sugar and Liquid: Gradually add the sifted powdered sugar, alternating with the milk and vanilla, while mixing on low speed. Start and end with the powdered sugar.
Whip: Once all ingredients are incorporated, increase the speed to medium-high and beat for 3-4 minutes until the frosting is light, fluffy, and spreadable. Add the salt and mix to combine. If the frosting is too thick, add a teaspoon more milk. If it’s too thin, add a bit more powdered sugar.
Part 3: Assembling the Layered Cake
Level the Cakes: If your cake layers have domed tops, use a long serrated knife to carefully slice off the very top to create a flat surface.
First Layer: Place one cake layer on your serving plate or cake stand. Spread a generous, even layer of frosting (about ¾ cup) over the top.
Second Layer: Carefully place the second cake layer on top. Repeat with another layer of frosting.
Third Layer: Place the final cake layer upside-down (the bottom becomes the top) for an perfectly flat surface.
Crumb Coat: Apply a thin layer of frosting over the entire cake—top and sides. This is the “crumb coat,” which traps any loose crumbs. Refrigerate the cake for 15-20 minutes to set this layer.
Final Frosting: Once the crumb coat is firm, apply the final, thick layer of frosting. Use an offset spatula to create a smooth finish or use the back of a spoon to create decorative swirls.
Decorate (Optional): You can pipe swirls on top with any remaining frosting, decorate with chocolate shavings, sprinkles, or fresh berries.
Tips for Success & Flavor Variations
· Don’t Overmix: Once you add the wet ingredients, mix just until combined. Overmixing develops gluten, leading to a tough cake.
· Room Temperature is Key: Using room-temperature eggs and buttermilk ensures they emulsify properly with the oil, creating a uniform and tender crumb.
· Why Coffee? The hot coffee doesn’t make the cake taste like coffee; it intensifies the rich, chocolate flavor. If you’re avoiding caffeine, use decaf or hot water.
· Make it a Different Flavor:
· Chocolate Orange: Add the zest of one orange to the cake batter and use fresh orange juice in place of the milk in the frosting.
· Chocolate Mint: Substitute the vanilla extract in the frosting with 1 teaspoon of peppermint extract.
· Chocolate Raspberry: Spread a thin layer of seedless raspberry jam between each cake layer before adding the frosting.
· Storage: Store the cake in an airtight container at room temperature for up to 2 days, or in the refrigerator for up to 5 days. Let it come to room temperature for the best flavor and texture before serving.
Enjoy your beautiful, homemade layered chocolate cake